How to Transfer Video to PC

Everybody loves taking videos these days. We like to film our lives and the things around us so that we can re-visit the memories time and time again. Watching these videos on your camera is great, but transferring videos to a PC allows you to do a lot more with them. Learning how to transfer video to PC will let you save your videos in a secure location, play them back on a much larger screen, edit them to make movies, and share them with whomever you would like. With a simple video editing software such as
VideoPad Video Editing Software, you can edit and transfer video to PC with ease.
Transferring Video to PC from SD Card or Other External Device
 |
| Import Video Files into VideoPad |
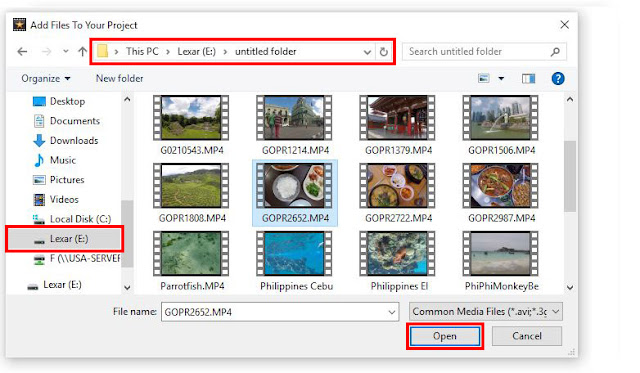 |
| Select Video Files to Transfer to PC |
Open your copy of
VideoPad Video Editing Software and select
New Project. From there, click on the
Add Files tab to open your computer's file browser. You can also go to the main menu in the program and select
File > Add File(s) or simply use the keyboard command
Ctrl + M to open the file finder window. Once this window is open, you can select your SD Card or another external device from where you would like to import your videos. Select the videos you would like to transfer to your PC and then click
Open to bring them into VideoPad.
Edit Your Video Clip(s)
With your clips imported into VideoPad, you can now make any
edits or adjustments you would like before transferring your videos to your PC. Apply effects, add text and transitions, and crop and trim your video clips so that your captured moments are action-packed and exciting. Drag your clip into the timeline to make any edits you would like and then move on to the next step.
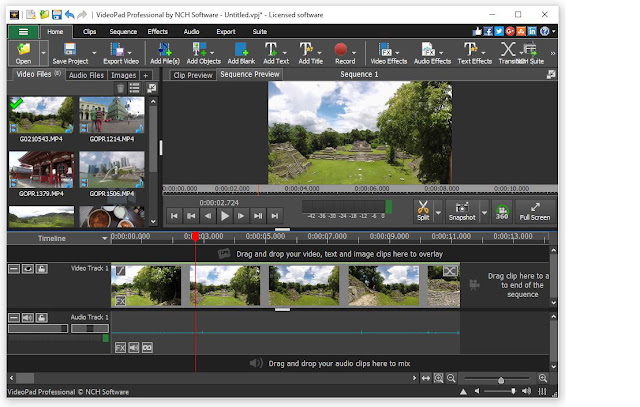 |
| Edit Your Video Clips |
Transfer Video to PC
When you are finished editing your clip, you are now ready to learn how to transfer video to PC. With your clip or clips in your timeline, go to the main menu and select
File > Export video... You can also use the keyboard command
Ctrl + B. This will launch the export video window and you can select the destination where you would like to transfer video to your PC. Use the
Browse button to find a folder and then click
Create to start the export. This will transfer whatever clip or clips you have in your timeline to your PC.
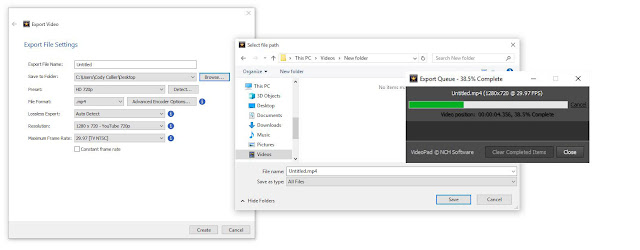 |
| Transfer Video to PC |
For more on VideoPad and video editing, check out these posts:


