Add Text to a Photo Easily with PhotoPad
Adding text to a photo is a great way to send a message that a picture on its own might not get across. Learning how to add text to a photo can help you make your own advertisements, postcards, memes, and more. Using a simple photo editing program such as
PhotoPad Photo Editing Software, you can easily add text to images of your own with ease.
Adding a Text Layer
To add text to a photo, open the image that you would like to use in
PhotoPad. Under the
Tools tab, you will find the
Text button. When you click on the text button, your new text layer will open in the layers panel on the right-hand side of the program and your text box will appear on your photo. Use your keyboard to type your text directly into the text box. You can add as many text layers as you would like in order to move individual words or sentences around independently.
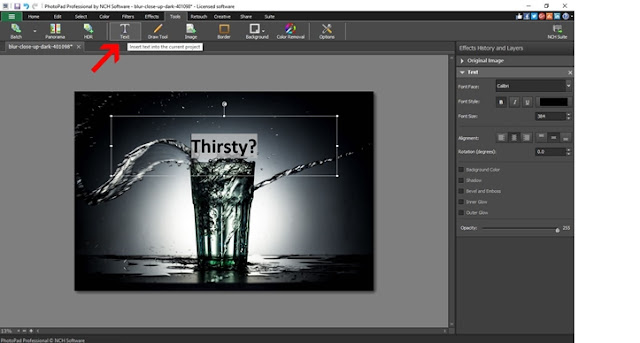 |
| Adding a text layer |
Adjusting Your Text
You can move the text around your image by hovering the mouse over the edge of your text box until you see the 4 sided arrow. Then simply click and drag your text box into the position you would like. Use your mouse to
resize the text box by clicking and dragging the white squares on the corners and in the center of your text box. You can also
rotate your text using the curved arrow at the top of the text box. For a more precise rotation, you can type in the numerical value on your text layer in the layers and effects panel on the right.
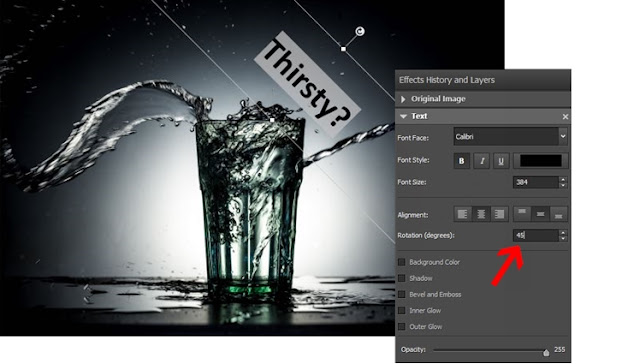 |
| Moving and rotating text |
Changing fonts
To change your font, select a new font option from the drop-down menu on your text layer in the layers panel. You can choose from a variety of font styles and types and then adjust the font size. You can select to have your font in
bold, italics, or underlined and then adjust the alignment of your font left and right and up and down within the text box.
Changes made to your text are only made to text that is selected or that has just been typed after making the change.
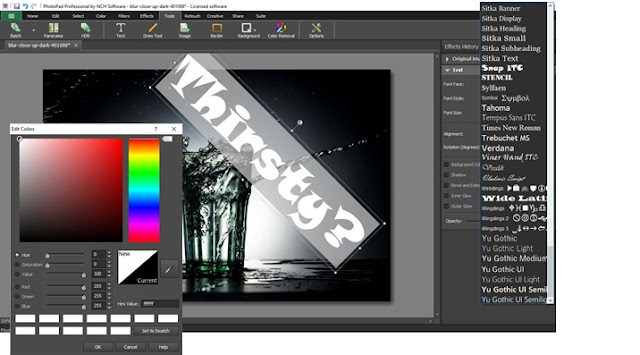 |
| Changing fonts |
Styling Your Text
There are several different options for styling your text on your image in PhotoPad. You can add a
drop shadow effect to your text by selecting the
Shadow option on your text layer. You can adjust the sharpness and the distance of your shadow effect as well as change the color of the shadow. Use the
Bevel and Emboss option to give your text more of a 3D look with rounded edges. You can choose to add an
Inner Glow, and
Outer Glow, or both to the text on your image. Choose the glow color from the color palette and adjust the intensity of the glow to your preference.
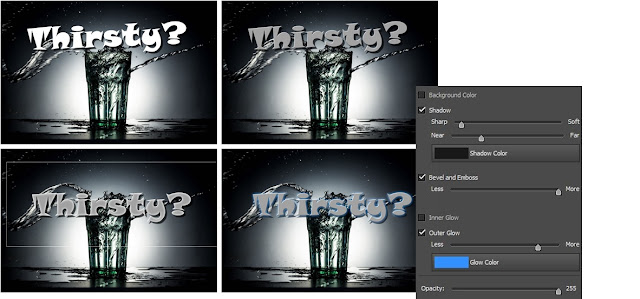 |
| Adding text styles and effects |
Making Your Text Transparent
You can
adjust the opacity or transparency of your text from the layer effects panel too. Changing the opacity of your text is a great option when you want your text to be a little more subtle against your image or when you would like to be able to see through it to the background.
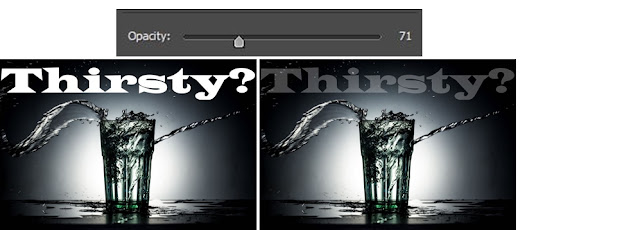 |
| Adjusting text opacity |
Adding A Background Color to Text
You can also select to have your text appear against a colored background. Checking the
Background Color box will fill your text box with a solid colored background that your text will appear on top of. You can change the color of the background and adjust the alignment of your text against it.
 |
| Adding text background-color |
For more on photo and image editing, check out some of our other posts:

 Adding text to a photo is a great way to send a message that a picture on its own might not get across. Learning how to add text to a photo can help you make your own advertisements, postcards, memes, and more. Using a simple photo editing program such as PhotoPad Photo Editing Software, you can easily add text to images of your own with ease.


Very good written article. It will be supportive to anyone who utilizes it, including me. Keep doing what you are doing – can’r wait to read more posts. view
ReplyDelete